There is no single perfect soil mix for anthuriums, and that is something I only became more sure of after trying quite a few different approaches myself. Over time, I found that the real key was not copying one exact ingredient list, but understanding the structure behind a mix — how much air it gives the roots, how long it stays wet, and how well the roots can actually grow into it.
So in this guide, I am not just sharing one recipe and calling it done. I’ll walk through the main mix structure I use, a simpler lower-cost version, a more detailed version for plants I want tighter control over, and a few mistakes that changed how I think about Anthurium soil.
What Anthurium Soil Actually Needs to Do
I do not think the goal is to chase one special material. The goal is to build a mix that gives the roots air, moisture, structure, and a bit of margin for real-life watering.

- stay airy around the roots
- hold enough moisture without staying soggy too long
- resist compacting too quickly
- let roots grow into the mix properly
- give some watering margin indoors
| Mix style | Best for | Main idea | Trade-off |
|---|---|---|---|
| More forgiving mix | Growers who tend to water a bit heavily | More chunky support, faster drainage, more airflow | May dry faster in drier homes |
| More detailed mix | Higher-value plants and growers who want tighter control | More intentional particle sizing and cleaner structure | Takes more time and materials |
| Simpler lower-cost mix | Growers who want something practical and easier to source | Shorter ingredient list with the same general structure | Less fine-tuned from pot to pot |
Version 1: My More Forgiving Mix for Easier Watering
Across all the mixes I use, the basic structure stays similar: a moisture-holding base, plus enough chunky support to keep the root zone open indoors. What changes is how much margin for error I want around watering, cost, and control.
One mix I keep coming back to is a version that is a little more forgiving when my watering runs heavier than planned. It leans more heavily on chunky materials, so drainage is faster, airflow is stronger, and the root zone does not stay dense and wet for too long. That has made it one of the easiest Anthurium mixes for me to manage repeatedly indoors, especially when I want more room for error around watering.
This is also one of the mixes that helped reduce root rot issues for me. It does not make overwatering impossible, and I would not call it the best version for every home. But if you tend to water a bit often, live in a reasonably humid environment, or simply want more room for error, this kind of structure can be very useful.

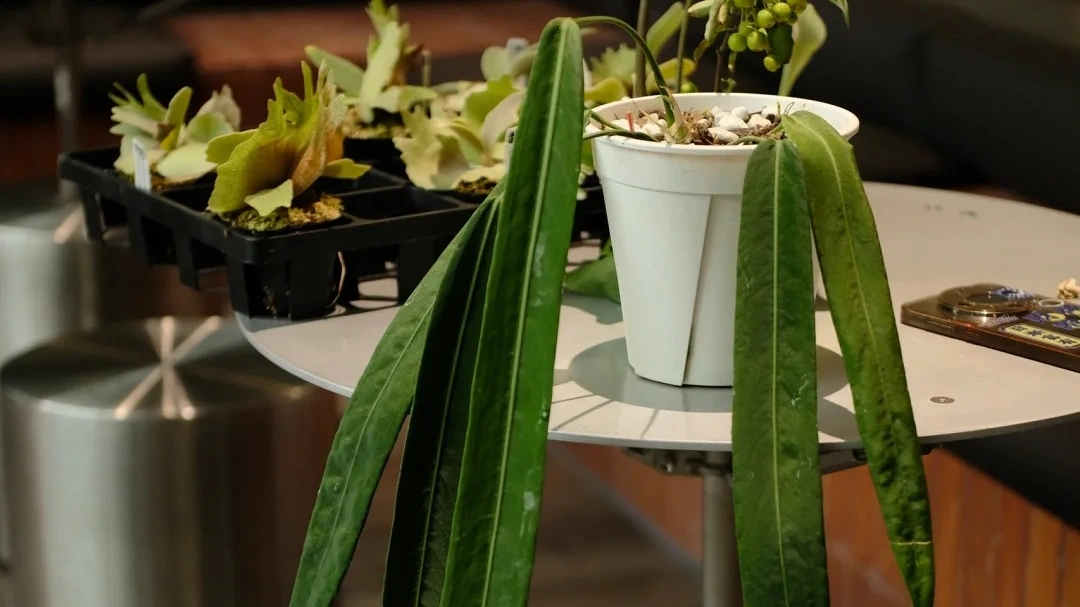
The version I use is still built around a moisture-holding base, but with a higher proportion of chunky support added in. In simple terms, that usually means a peat or peat-based base, plus bark, pumice or another lightweight stone, perlite, coconut chips if you like using them, and a small amount of charcoal. One mix I have used in this direction was roughly 20% pumice, 20% bark, 20% peat, 20% coconut chips, 15% perlite, and 5% charcoal. I do not treat that exact ratio as something everyone needs to copy, but it shows the general idea: plenty of airflow and drainage, without removing the moisture-holding base completely.
What I like about this kind of mix is that it stays open enough to handle heavier watering, but it still feels workable for roots. It is not just a pile of hard dry particles. It still has enough base to hold the mix together and give the roots something to grow into, which is why this version has been one of the easiest for me to live with.
Version 2: My More Detailed Mix for Higher-Value Anthuriums
For some Anthuriums, I am willing to be more particular with the mix. That usually happens when the plant is expensive enough, established enough, or important enough to me that I want tighter control over how the root zone behaves. In that kind of case, I pay more attention to particle size, remove excess fines more carefully, and try to keep the structure more consistent from pot to pot instead of mixing everything more casually.
What I am really aiming for here is not a “fancier” soil, but a more controlled one. I want better consistency across pots, better airflow without oversized empty gaps, and a mix that feels easier to read when I am watching root health, watering rhythm, and new growth. I also pay more attention to matching chunk size to plant size, because smaller roots usually do not handle oversized coarse materials as well as mature plants do.

This is also the version where I spend more time sourcing materials, screening out excess fines, and separating larger and smaller particles before I mix them. I do not think every grower needs to do that, but for plants I care about more closely, I find the extra effort worthwhile because the root zone ends up feeling more deliberate and easier to manage.

This is not the version I would push on everyone. It works for me because I am willing to spend more time adjusting particle size and sourcing materials.
Version 3: A Simpler, Lower-Cost Mix That Still Works Well
Not every Anthurium mix needs to be detailed, expensive, or built from a long list of specialty materials. I also use simpler versions when I want something easier to source, easier to mix, and easier to keep restocking. As long as the structure is right, a lower-cost mix can still work very well indoors.
A practical version usually starts with a peat-based base, then adds bark, perlite or pumice, and one extra chunky component if you have it. It does not need to look luxurious to function well. What matters is whether the roots get air, moisture, and a mix they can actually grow into.


If you cannot source every ingredient, do not worry too much about copying the mix exactly. Focus on building the same structure instead. The base should not be so fine and dense that it stays heavy for too long, the mix should include enough chunky material to keep airflow around the roots, and after watering the pot should not stay wet and airless for an unreasonable amount of time. If you can get those parts right, you already have the foundation of a good Anthurium mix.
A good Anthurium mix does not depend on expensive ingredients. It depends on getting the structure right.

What If You Do Not Like Coconut Chips or Coco-Based Materials?
Coconut chips are optional, not mandatory. Some growers like them because they add texture and help open up the mix, while others avoid them because of prep work, salt concerns, or simple preference.
If you do not like using them, you can still build a very good mix with a peat-based base, bark, perlite or pumice, and other structural materials that keep the root zone open. You do not need coconut chips to make a good Anthurium mix.

Why I No Longer Believe “More Chunky” Always Means Better
For a while, I also leaned too hard into the idea that chunkier automatically meant better. On paper, it sounds convincing: more air, faster drainage, less risk of rot. But over time, I found that a mix can be very airy and still be wrong for the roots.
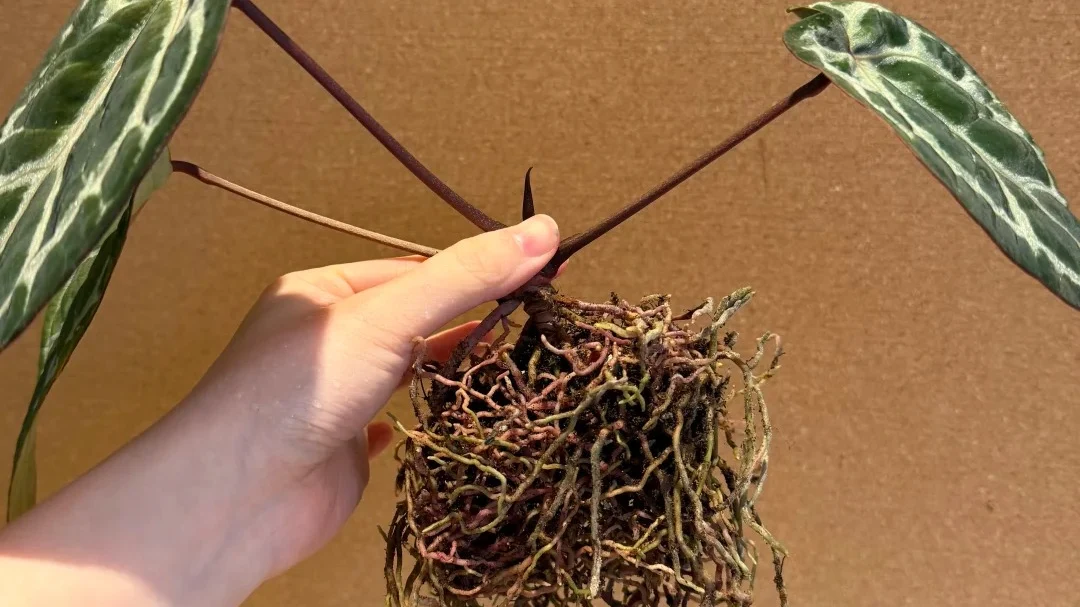
When there are too many large, hard particles, the root system does not always settle the way I want it to. Instead of building a strong, well-anchored root mass, the roots can end up long, thin, and wandering through the gaps without really gripping the mix. The pot may look wonderfully open, but that does not automatically mean the root structure underneath is strong or stable.
I also think very chunky mixes can make growers a little too confident with watering. Once the mix feels airy and impossible to suffocate, it becomes easy to assume that heavy or frequent watering is no longer a real risk. But that kind of confidence creates its own problems. Roots may stop pushing downward properly, and the plant may never build the settled root system that supports strong long-term growth.
That is why I no longer see “more chunky” as the goal. Airflow matters, but so does root grip. Drainage matters, but so does structure. A good Anthurium mix should feel open enough to breathe, but not so coarse and hard that the roots never really settle into it.
The 4 Anthurium Soil Mistakes I Learned From
Most of my Anthurium soil mistakes did not come from using the “wrong” material. They came from pushing one idea too far, or assuming that a mix that looked impressive on paper would automatically work better in real life. These are the four mistakes that taught me the most.
Believing Bigger Chunky Particles Are Always Better
This was probably the easiest mistake to make because it sounded so logical at first. I assumed that more large chunky material would always mean better airflow and healthier roots. In practice, though, too many big hard particles often made the root system feel less settled, not more. The mix stayed open, but the roots did not always anchor into it well.
Watering Too Aggressively Just Because the Mix Felt Airy
A very airy mix can make you feel safer than you actually are. Once I started using chunkier soil, I sometimes became too confident with watering, especially when the mix looked fast-draining from the top. But “airy” does not mean the plant can handle endless heavy watering without consequences, or that it will never end up drooping from root stress. That mindset can still lead to weak roots and poor root development over time.
Using Peat That Was Too Fine
This is one of those details that seems small until it starts causing problems. When the peat portion was too fine, the mix compacted more easily, stayed heavier longer, and lost the open structure I was trying to create in the first place. Since then, I have paid much more attention to fines and usually prefer screened peat or peat with the dustier portion reduced.
Using a Top Dressing That Blocked or Damaged New Roots
I also learned that the surface layer matters more than I used to think. Some top dressings may look neat, but they can get in the way of new roots, press down on the mix, or create a harder surface than the plant really wants. For Anthuriums, especially as they start pushing new roots higher up the stem, I now try to avoid anything that blocks or damages that new growth.
How I Adjust the Mix by Plant Size, Pot Size, and Environment
| If this sounds like you… | Lean the mix this way |
|---|---|
| You tend to overwater | Use a more open, airier mix with stronger drainage |
| Your home is dry or you often underwater | Keep a little more moisture retention in the base |
| You are potting small Anthuriums | Use smaller, more even particles |
| You are potting larger plants in bigger pots | You can use a coarser structure more comfortably |
| You want tighter control for expensive plants | Use a more detailed mix with better particle control |
Even when I keep the same general soil philosophy, I do not use exactly the same texture for every Anthurium. Plant size, pot size, and home conditions all change how the mix behaves.
For smaller plants, I usually use smaller particles. Larger plants and bigger pots can handle a coarser structure more comfortably. I also adjust based on environment and watering style: in drier homes, I would keep a little more moisture retention, while in more humid setups or for heavier waterers, I would lean the mix more open and faster-draining.
That is why I do not think the “best” Anthurium mix is one exact recipe. The structure has to make sense for the plant, the pot, and the home it is actually growing in.
If I had to simplify my advice, it would be this:
- If you tend to overwater: go chunkier and airier.
- If you want a balanced everyday mix: start with a peat-based base and add moderate chunky support.
- If you like to fine-tune expensive plants: a more detailed mix with better particle control can be worth the extra effort.
My bottom line is simple: there is no single perfect recipe. The best Anthurium mix is the one that fits your roots, your home, and your watering style.
FAQ
Still figuring out what works for your Anthurium?
Light, watering, humidity, soil, and root health all shape how an Anthurium grows indoors. If you’re still comparing care routines or trying to build a setup that actually works at home, my main Anthurium care page brings the most useful guides together in one place.
Go to Care Hub →